


Skip to content

Stuffed Capsicum Recipe (Easy, Healthy & Ready in 45 Minutes)

For years I avoided making stuffed capsicum. In India, it is popularly known as Bharwan Shimla Mirch. Every attempt ended the same way — filling, piping hot, and pepper still basically raw underneath. Annoying. Then I figured out the one step that was missing, and now this is a proper regular in my house.

Quick answer: roast the halved, deseeded capsicums for 10 minutes on their own first. Then fill with a cooked rice and veg mixture, top with cheese, and bake for another 25–30 minutes at 190°C – it fits neatly into the wider picture of food for diabetes patients in India that I cover elsewhere on the site.

Under 45 minutes from start to finish, around 280 calories a serving, and it flexes easily into vegetarian, vegan, or higher-protein depending on what’s in your fridge.

No faff. Just a method that actually holds up.

Nutrition (per serving) of the Bharwan Shimla Mirch

Protein (gram)
0
Total Carbs (gm)
0
Fat (gm)
0
Fibre (gm)
0

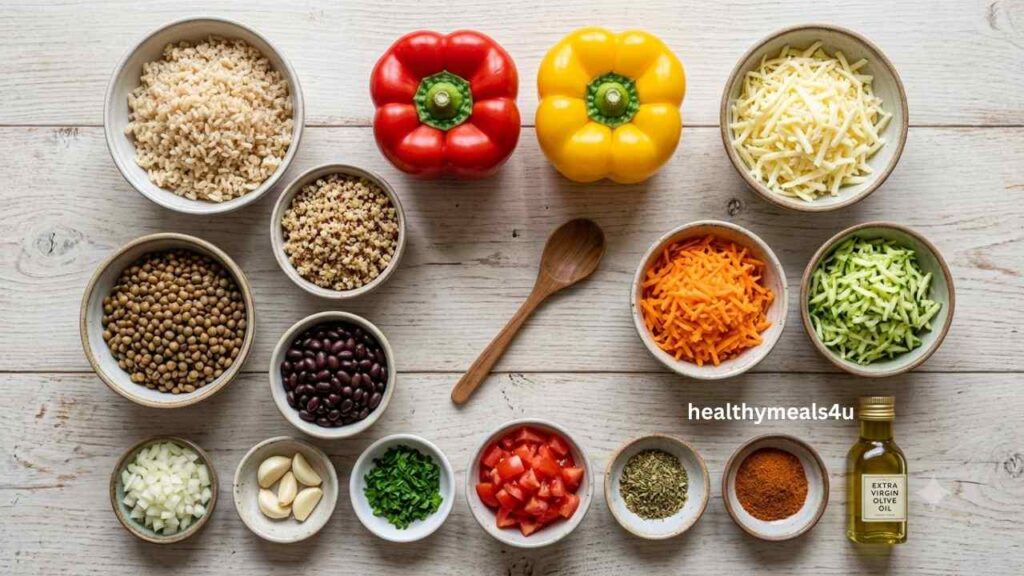
What will you need for the stuffed capsicum?

How to Make Stuffed Capsicum (Step-by-Step)

Most of this you’ll already have knocking about the kitchen.

Best Capsicums for Stuffing

Capsicum doesn’t get enough credit, to be honest. It’s naturally low in carbs and has way more vitamin C in it than people tend to assume.

  • Red or yellow rather than green if you have the choice – they are sweeter and roast better.
  • Pick ones with a reasonably flat bottom, or they’ll topple mid-bake, and you’ll be scraping filling off the tray
  • Medium-large is the sweet spot. Small ones dry out before the middle’s even warm through
  • A standard pack of 3 is exactly the right size; no need to go hunting anywhere unusual

Healthy Swaps & Variations for Stuffing Capsicum

This dish is already reasonably balanced – protein, veg, some carbs and the best option for a Indian diabetic dinner. But there’s plenty of room to tweak depending on what you’re after. Swaps I’ve actually tried, not just theorised about:

  • Quinoa, bulgur wheat, or cooked little millet instead of rice for a bit more protein and a lower GI — my little millet recipes collection has a few prep methods if you haven’t cooked with it before
  • Cooked lentils or black beans instead of meat for a vegan version – they hold their shape surprisingly well
  • Cooked mince (beef, turkey, or plant-based) stirred through if you want something more substantial for hungrier appetites
  • Brown rice instead of white for more fibre.

  • A stronger cheese like feta means you can use less of it and still get plenty of flavour

  • Extra veg stirred into the filling — peas, sweetcorn, spinach all work well — bulks things out without adding much in the way of calories

  • Cauliflower rice in place of regular rice if you’re watching carbs

  • Short on time? Skip the filling altogether and use leftover paneer from my paneer salad bowl recipe – the pan-fried cubes crumble in nicely with the rice.
Stuffed Capsicum Recipe

Stuffed Capsicum Recipe

Prep Time 15 minutes
Cook Time 30 minutes
Total Time 45 minutes
Servings: 3
Course: Main Course, Side Dish
Cuisine: Indian
Calories: 280
Ingredients  
  • 4 capsicums halved lengthways, seeds and white pith scooped out
  • 1 tbsp olive oil
  • 1 onion finely chopped
  • 2 garlic cloves crushed
  • 1 courgette or carrot grated — the bit almost every recipe I've come across leaves out, and it's exactly what stops the filling drying up
  • 250 g cooked rice leftovers work great, or a microwave pouch if you're pressed for time
  • 400 g tin chopped tomatoes
  • 1 tsp dried oregano
  • 150 g grated cheese cheddar or mozzarella — whatever's open in the fridge
  • Salt and pepper
Method
 
  1. Step 1 – Prep the capsicums.
  2. Preheat the oven to 190°C (fan). Halve the capsicums lengthways through the stalk, then scoop out the seeds and membrane — a teaspoon does this better than a knife, with less mess.
  3. Here's the step that changed everything for me: Brush the empty halves with a little oil and roast them cut-side up for 10 minutes before they see the filling at all. Feels like an unnecessary extra step. It isn't. It's what stops you biting into a pepper that's still got a bit of crunch left in it once everything else is cooked through.
  4. Step 2 – Make the Filling
  5. While the peppers get their head start in the oven, soften the onion in a pan with the oil – 5 minutes or so, stirring occasionally. Add the garlic and grated courgette or carrot and cook for another couple of minutes.
  6. Stir in the cooked rice, chopped tomatoes and oregano. Simmer gently for 5 minutes until it thickens up a bit — you want moist, not potable. A filling that's too wet going in is the main reason stuffed peppers end up soggy coming out. Taste and season properly at this stage; most of the flavour comes from here, so don't hold back.
  7. Step 3 – Stuff and Bake
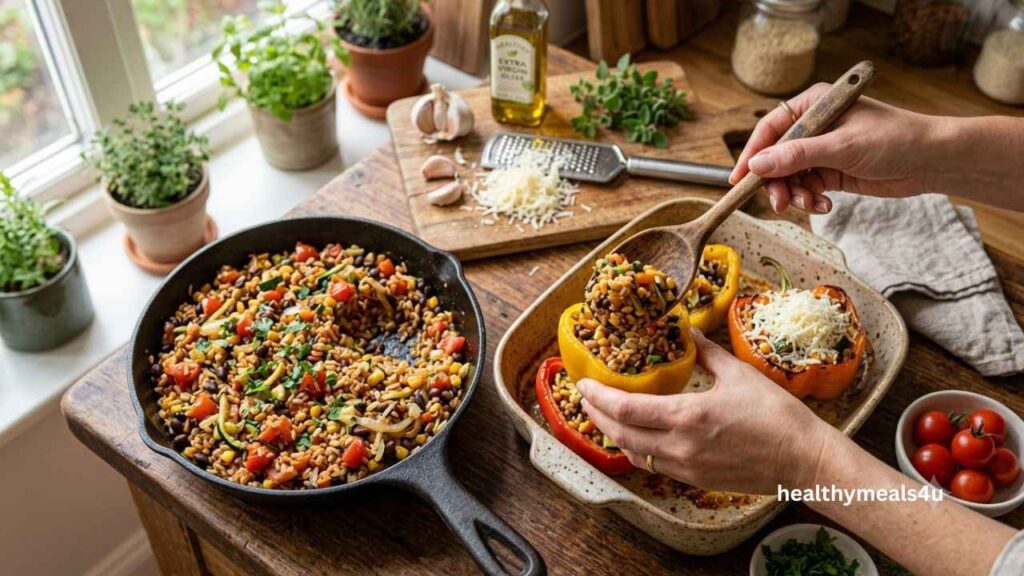
  8. Spoon the filling into the pre-roasted capsicum halves, pressing down gently as you go so there aren't air pockets sitting underneath. Scatter cheese over the top.
  9. Bake for 25–30 minutes, until the cheese has gone golden and a knife slides into the pepper without much resistance. Let them rest for 5 minutes once out of the oven — they hold together far better once they've had a moment rather than falling apart the second you serve them.
Top Tips for Perfect Stuffed Capsicum Every Time

Top Tips for Perfect Stuffed Capsicum Every Time
  • Pre-roast the peppers first. Solves the classic hot-filling, hard-pepper problem outright.
  • Keep the filling on the drier side. Too loose going in means swimming coming out.
  • Always use rice that’s already cooked. Raw rice doesn’t have the time or liquid it needs inside a pepper.
  • Give it 5 minutes to rest. Makes a real difference to whether it holds its shape or collapses.
  • Use a snug dish. Too much room and the capsicums tip over, losing half their filling onto the tray.

What to Serve With Stuffed Capsicum?

What to Serve With Stuffed Capsicum

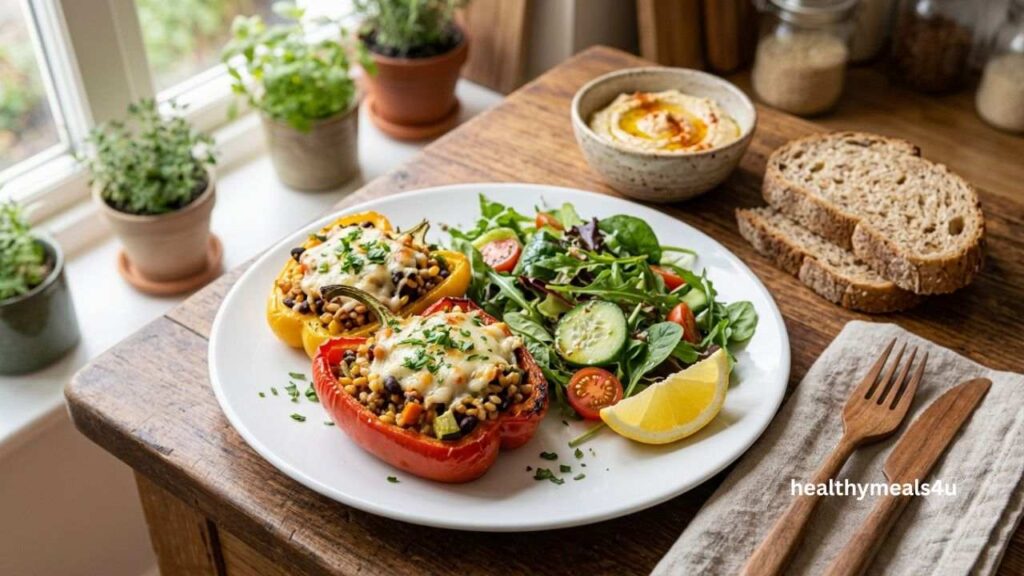
Hearty enough to eat on their own, but they’re nice with the following:

  • A simple green salad, with a squeeze of lemon over the top
  • A bowl of diabetic vegetable soup on the side if you want to bulk the meal out without adding more carbs
  • Warm crusty bread or flatbread for mopping up the sauce
  • A spoonful of natural yoghurt or hummus on the side

Storage & Freezing of the Stuffed Capsicum

  • Fridge: once cooled, keep in an airtight container for up to 3 days. Reheat until properly hot the whole way through, not just on top.
  • Freezer: These freeze surprisingly well. Cool completely, wrap individually, and they’ll keep for up to 3 months.
  • From frozen: thaw overnight in the fridge, then bake at 180°C for 20–25 minutes until hot in the middle.

Frequently Asked Questions

Yes, always. Raw rice needs more time and liquid than the peppers can give it — it’ll stay hard and undercooked.

Nine times out of ten, it’s the missing pre-roast. Give the empty halves that 10-minute head start, and it sorts itself out.

Yes—assemble the whole thing up to a day ahead, cover it, and keep it in the fridge, then bake it fresh when you’re ready to eat.

Yes, before or after baking. I’ve found freezing after baking gives a slightly better texture once it’s reheated.

Nothing, really — just regional naming. ‘Capsicum’ is the term used more in the UK, Australia and India; ‘bell pepper’ is more common in the US.

Leave a Reply

Your email address will not be published. Required fields are marked *

Recipe Rating