
Skip to content

Moong Sprouts: Benefits, How to Sprout Them at Home, and Easy Recipes

About a year back, a jar of moong dal moved onto my kitchen counter and just… stayed. Not for any noble reason. I was sick of buying “protein snacks” that turned out to be sugar wearing a health-food costume when I actually flipped the pack over and read the label. Sprouting my own moong fixed that, and cheaply too. It’s also one of maybe three kitchen habits I’ve picked up that didn’t quietly die after two weeks. My chia pudding phase, for comparison, lasted ten days, tops. This one’s still going. So if you’re standing where I was — unsure whether sprouting is even worth the fuss — here’s what I wish someone had told me before I wasted three batches figuring it out the hard way. If you’re already hunting for high-protein vegetarian options that don’t taste like a compromise, sprouts were the first thing that actually stuck for me.

What Are Moong Sprouts?

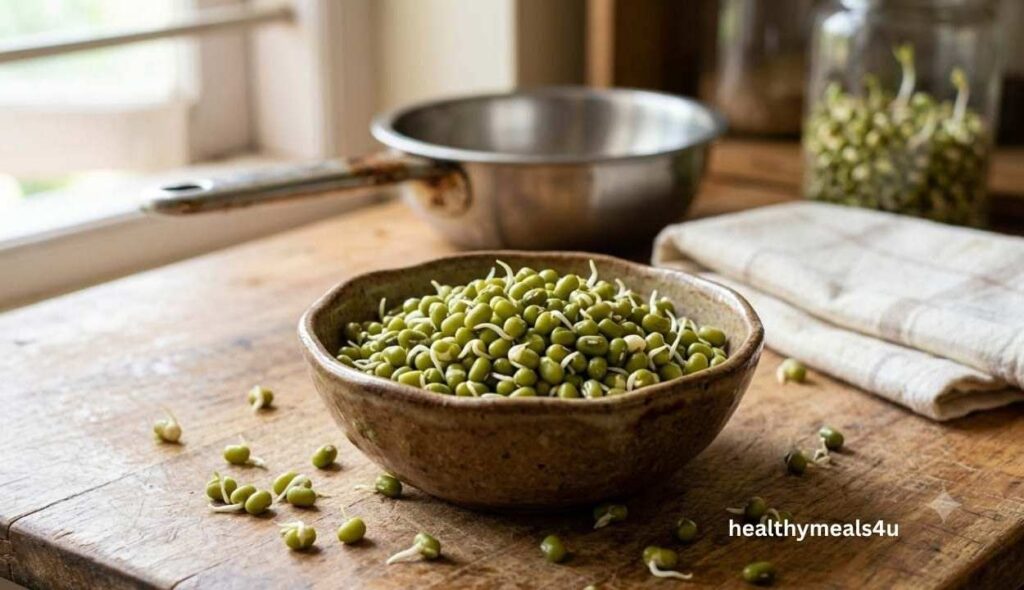
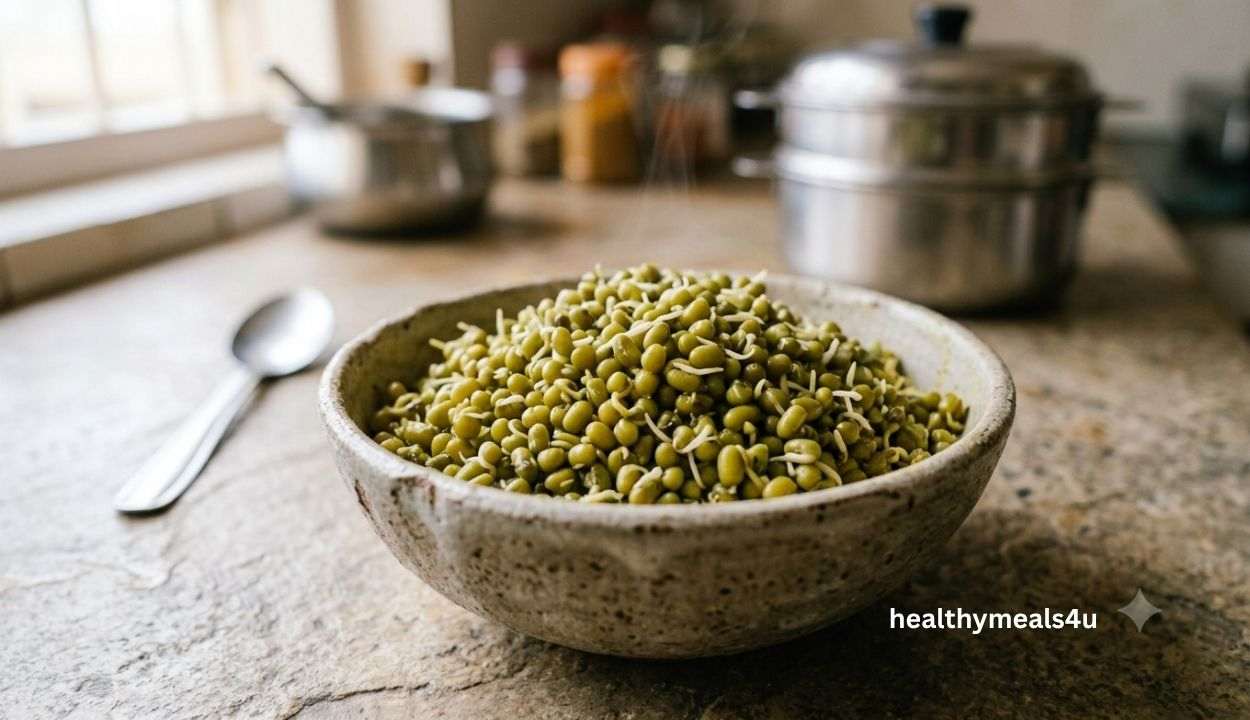
bowl of fresh moong sprouts on wooden table

Nothing complicated here. Take whole green gram, moong dal, soak it, and then leave it be until each bean grows a little white tail. That tail is your sprout. That’s genuinely the whole idea.

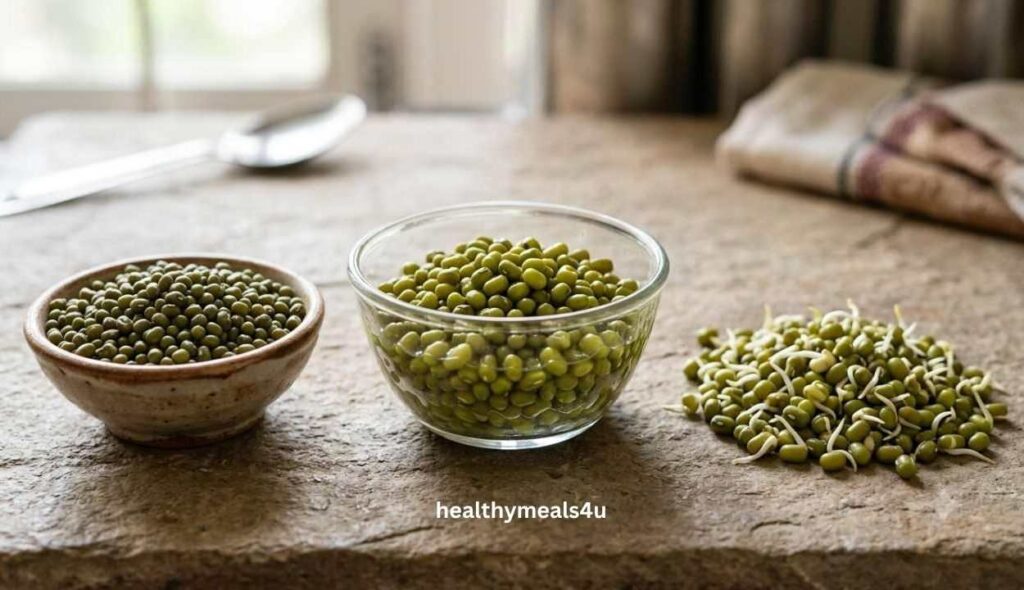
Here’s the part that actually changed how I cook with these, though, and I’d rather just tell you now than let you find out the slow way like I did: soaking and sprouting are not the same thing. I treated them as interchangeable for months. Soaking only softens the bean. Sprouting is its own separate event — enzymes wake up inside the seed, and the nutrition shifts in ways soaking alone never touches.

If you’re the skim-and-scroll type, here’s your one line: moong sprouts are germinated green gram, and they carry more protein, fibre, and certain vitamins than dal that’s just been soaked or cooked plain.

Moong Sprouts Nutrition and Benefits

Per 100g, you’re getting a decent hit of plant protein and fibre, plus vitamin C and folate. The vitamin C bit actually surprised me the first time I looked it up — dry dal has almost none of it, and sprouting seems to flip that switch on almost overnight.

There’s real research backing this, not just kitchen folklore. A 2025 study on germination in pulses — including mung beans — found that sprouting cut phytic acid levels by as much as 75% and improved protein digestibility too. Phytic acid is the compound that quietly gets in the way of mineral absorption in your gut, so less of it is a genuine win, not just a health-blog talking point.

Here’s what I’d actually vouch for, after months of eating this on repeat, not just reading a nutrition chart once:

  • Protein — genuinely useful if you’re cutting back on meat and don’t want your numbers to fall apart.
  • Fibre — the kind that actually keeps hunger at bay, which honestly matters more than most diet content gives it credit for, especially on days you’re not trying to white-knuckle your way through eating less. It’s the same reason I keep coming back to low-calorie meals that still fill you up instead of counting bites.
  • Low in fat and calories — you can serve yourself a proper portion without doing mental maths first. Sprouts are also low-GI, so they’ve earned a permanent spot next to my diabetic-friendly meal ideas.
  • Vitamin C climbs once sprouting kicks in, and a year into this, it still catches me off guard a little.
  • Easier to digest — whatever it is that makes raw dal sit heavy in your stomach, sprouting seems to break it down. My digestion notices this one more than any other, honestly.

How to Sprout Moong Dal at Home ?

soaking moong dal in water bow

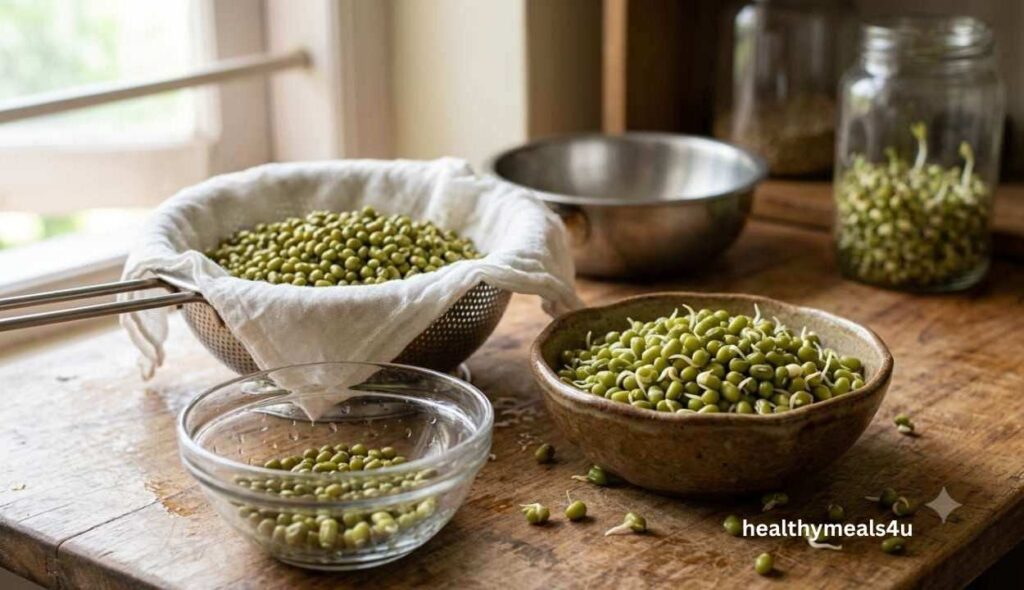
You don’t need equipment. No muslin bag bought specially for the occasion, no gadget with a name. A bowl, a colander, and more patience than you’d guess — that’s the entire list. This is, quite literally, what’s sitting on my counter as I write this.

Step 1: Soak

Take a cup of whole moong dal, rinse it under running water till it runs fairly clear — not spotless, just fairly clear; don’t overdo it — and soak it in about three times that volume of water for 8 hours or overnight. I set mine up right before bed and don’t think about it again till morning.

Step 2: Drain and Rest

Tip out all the water completely, leaving none behind — standing water is exactly what gives you that sour smell come morning, and yes, I know this because I’ve smelt it. Wrap the moong loosely in a clean, damp cloth, or set it in a colander with a lid resting lightly on top, not sealed shut. Keep it somewhere dark and warm. Mine lives tucked behind the rice container, out of sight.

Step 3: Rinse and Wait

Every 8 to 10 hours, rinse, drain fully, and wait some more. Somewhere between one and two days — longer if your kitchen runs cool — you’ll see little white shoots poking out. Once that shoot hits about half a centimetre, you’re done. Eat them raw from there or give them a light cook, whatever the day calls for.

One thing most recipe write-ups skip entirely: Kerala humidity speeds this up way past what the international guides assume. In peak heat, mine are done in under 24 hours, every single time. So don’t sit around expecting the full two-day window — start checking earlier than feels necessary, because sprouts left too long tip over to their best point fast.

Three Moong Sprouts Recipes: Salad, Curry, and Steamed

A quick note on the numbers below: I’m starting from raw moong sprouts at roughly 30 kcal, 3 g protein, 6 g carbs, 1.8 g fibre, 0.2 g fat, and 13 mg vitamin C per 100 g, then adjusting for whatever else goes into each dish. I’ve weighed my own sprouts a few times just to sanity-check this, but I’m not running anything through an actual lab, so take these as honest home estimates, not gospel. If you want exact figures — say you’re tracking macros closely — the Indian Food Composition Tables (IFCT), published by ICMR-NIN, is the reference I’d trust it over any of the international nutrition apps for Indian ingredients like moong.

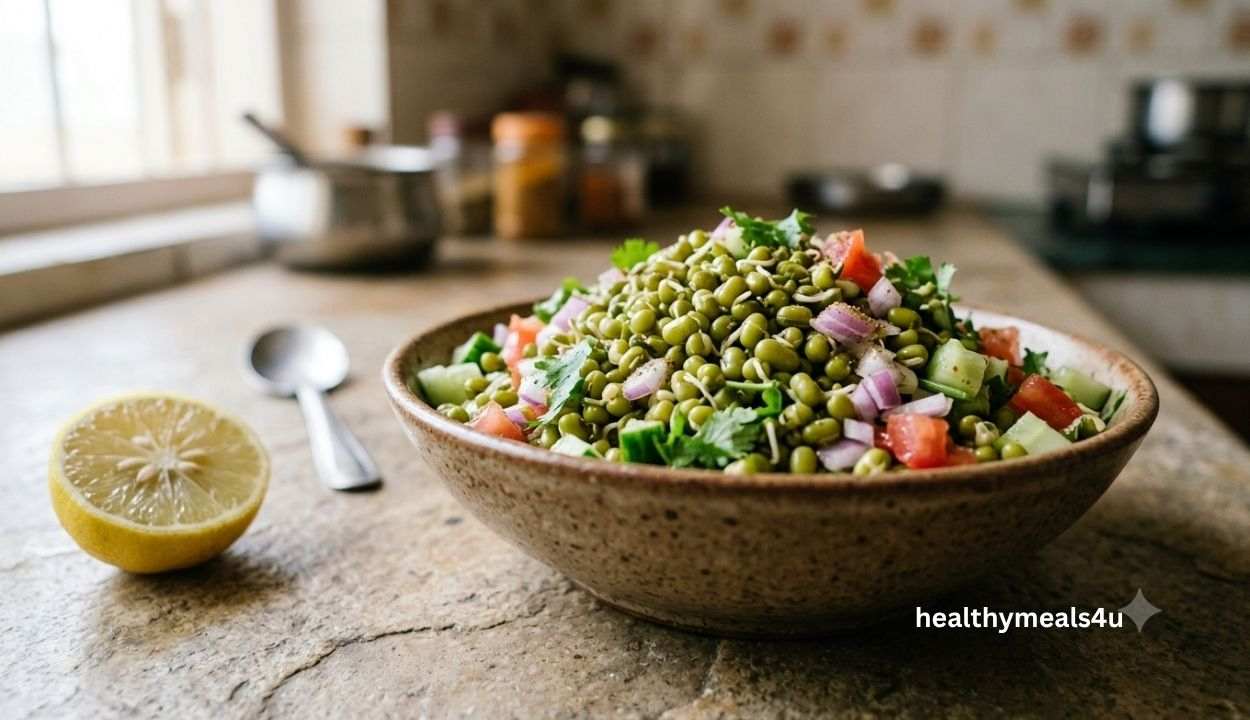
Moong Sprouts Salad (No-Cook)

Moong Sprouts Salad (No-Cook)

Prep Time 10 minutes
Total Time 10 minutes
Servings: 2
Course: Salad
Cuisine: Indian
Calories: 80
Ingredients  
  • 1 cup moong sprouts about 100g
  • 1 small onion rinsed
  • 1 medium tomato finely chopped
  • 1 small cucumber deseeded and chopped
  • 1 tablespoon lemon juice about half a lemon
  • 1/2 teaspoon chaat masala to taste
  • a few chopped coriander leaves Optional
  • a pinch of roasted cumin powder
Method
 
  1. Rinse the sprouts once more under cold water and drain them properly — a soggy salad isn't worth handing to anyone, least of all yourself.
  2. Toss the sprouts, onion, tomato, and cucumber together in a bowl.
  3. Pour the lemon juice over.
  4. Add the chaat masala and salt.
  5. Mix till it's evenly coated.
  6. Taste it before serving. Tastes flat? More chaat masala fixes it faster than more salt does, in my experience. Not tangy enough? A little extra lemon. Eat it right away. Leave it sitting for an hour or two, and the cucumber starts weeping water, and the whole bowl turns watery and, honestly, a bit sad.
Notes
Nutrition (approximate, per serving of 2):
Protein: ~4g
Fibre: ~2.5g
Fat: ~0.3g
Carbohydrates: ~13g
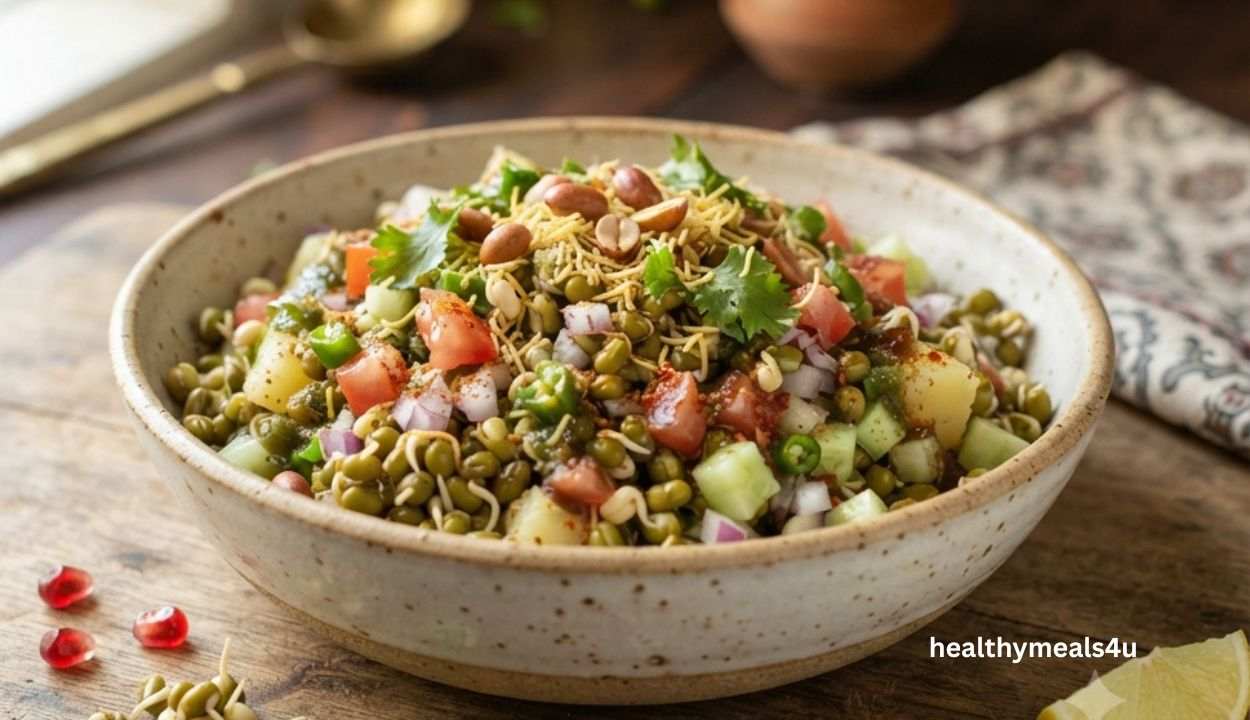
This is what I make on days the stove stays off, no arguments. Chopping the vegetables genuinely takes longer than putting the whole thing together after. It sits in the same rotation as my paneer salad bowl – quick, no-cook, and something I can eat without a side of guilt.

A note from my kitchen: packing this for lunch? Keep the lemon and salt in a separate little box and add them right before eating, not before. Otherwise, you open your lunchbox to a puddle where the crunch used to be – it happened to me more than once before I learned better.

Moong Sprouts Curry

Moong Sprouts Curry (Stovetop, South Indian Style)

Prep Time 10 minutes
Cook Time 8 minutes
Total Time 18 minutes
Servings: 2
Course: Side Dish
Cuisine: Indian
Ingredients  
  • 1 cup moong sprouts about 100g
  • 1 tbsp coconut oil or any cooking oil
  • 1/2 tsp mustard seeds
  • 8-10 curry leaves
  • 1 green chilli slit lengthwise
  • 2 tbsp grated coconut fresh or frozen
  • 1/4 tsp turmeric powder
  • Salt to taste
  • 2-3 tbsp water
Method
 
  1. Warm the oil in a pan on medium heat.
  2. Add mustard seeds and let them crackle for about 20-30 seconds.
  3. Add curry leaves and the slit chilli; sauté for 10 seconds, no longer.
  4. Tip in the sprouts, turmeric, and salt and stir till coated.
  5. Add 2-3 tablespoons of water, cover, and cook on medium-low for 5-6 minutes, stirring once halfway.
  6. Once the sprouts are tender but still have a bit of bite — never let them turn mushy — stir in the grated coconut.
  7. Uncover and cook for 1-2 minutes more to burn off any leftover moisture.
  8. Turn off the heat and serve warm.
Notes
Nutrition (approximate, per serving of 2) 
Protein: ~4g
Fibre: ~2.5g
Fat: ~5g (mostly the coconut and oil)
Carbohydrates: ~9g
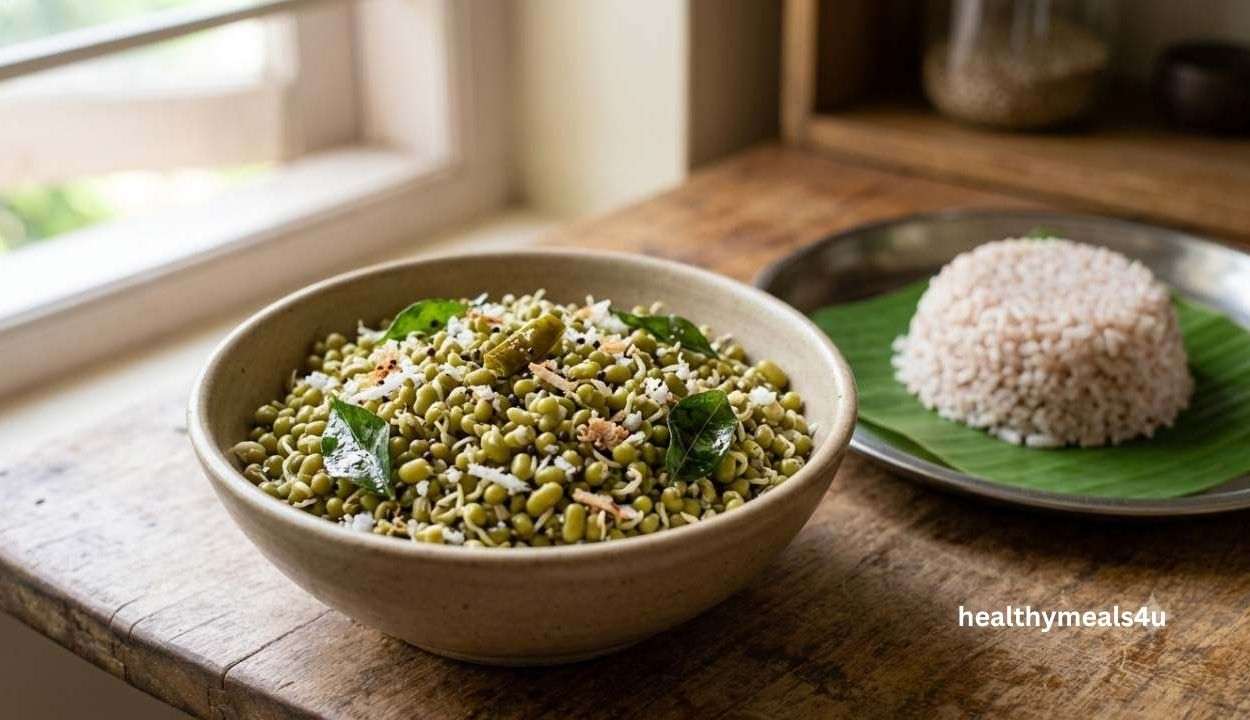
This is the dish that got me to stop filing sprouts under “health food you tolerate”. Coconut and curry leaves are doing most of the actual work here – the sprouts are along for the ride, and I say that with real fondness for both of them.

A note from my kitchen: this curry does not forgive carelessness. Go past minute 7 or 8 on too high a flame, and the sprouts collapse into mush with no coming back — I lost an entire batch this way once, distracted by something else on the stove. Weirdly, the leftovers taste better than the fresh batch. Give the coconut and spices a day to settle in and you’ll taste the difference yourself.

Steamed Moong Sprouts (Stir-Fry Add-In)

Steamed Moong Sprouts (Stir-Fry Add-In)

Prep Time 2 minutes
Cook Time 6 minutes
Total Time 8 minutes
Servings: 2
Course: Side Dish, Snack
Cuisine: Indian
Ingredients  
  • 1 cup moong sprouts about 100g
  • Water for steaming
  • Your regular vegetable stir-fry whatever's already going
Method
 
  1. Set a steamer basket over simmering water, or use your idli steamer if that's easier.
  2. Spread the sprouts out in a single, even layer.
  3. Steam for 5-7 minutes, till softened but not mushy.
  4. Pull them out and let them cool a minute — they hold heat longer than you'd expect.
  5. Stir into your stir-fry for the last two minutes, just enough to warm through without wilting.
Notes
Nutrition (approximate, per serving of 2, sprouts only — not counting whatever you add them to)
Protein: ~3g
Fibre: ~1.8g
Fat: ~0.2g
Carbohydrates: ~6g

This barely counts as its own recipe, if I’m honest. It’s more a trick I use to sneak sprouts into whatever stir-fry is already happening that evening. Works especially well tossed through something like stuffed capsicum if you want the sprouts to actually be the star for once instead of a garnish.

A note from my kitchen: steaming beats boiling here because the crunch survives and the nutrients don’t end up down the drain. No steamer? A colander balanced over a simmering pot, lid on top, does the same job – that was my setup for years before I finally bought an actual one.

Sprouts Tikki Recipe (Crispy, Protein-Rich, Beginner-Friendly)

Sprouts Tikki Recipe (Crispy, Protein-Rich, Beginner-Friendly)

Prep Time 15 minutes
Cook Time 12 minutes
Total Time 27 minutes
Course: Side Dish, Snack
Cuisine: Indian
Ingredients  
  • 1 cup moong sprouts about 100g
  • 1 medium potato boiled and mashed
  • 2 tablespoons besan gram flour
  • 1 small onion finely chopped
  • 1-2 tablespoons chopped coriander leaves
  • 1 green chilli finely chopped (adjust to taste)
  • 1/2 teaspoon red chilli powder
  • 1/4 teaspoon roasted cumin powder
  • Salt to taste
  • 2-3 tablespoons oil for shallow frying
Method
 
  1. Start with the sprouts. Steam or boil for 2-3 minutes, just till tender, no further.
  2. Drain completely and let them cool all the way — warm sprouts give you a soggy mixture that nothing afterward can rescue.
  3. Once cool, run them briefly through a mixer, or mash by hand with the back of a spoon. You want texture here, not paste — a few whole sprouts scattered through are what give the tikki its bite.
  4. Combine the mashed sprouts, boiled potato, besan, onion, coriander, chilli, chilli powder, cumin powder, and salt in one bowl.
  5. Knead with your hands till it comes together as one mass.
  6. Check the texture. Press some between your fingers. Falls apart? Work in another spoonful of besan.
  7. Cracks at the edges? Add water, a teaspoon at a time, till it holds.
  8. Shape the patties. Divide into 8 equal parts, roll into balls, and flatten into patties about 1 cm thick.
  9. Heat the pan. 2-3 tablespoons oil, medium heat, flat pan or tawa — this is shallow frying, not a deep-frying job.
  10. Fry till golden. Add the tikkis without crowding the pan.
  11. Give each side 3-4 minutes till golden and slightly crisp.
  12. Don't rush the flip — the crust needs time to form, or the tikkis fall apart mid-air.
  13. Drain and plate. Rest them on a paper towel to soak up extra oil.
  14. Serve with mint chutney, tamarind chutney, or just ketchup if that's what's in the fridge – no judgement here.
Notes
Nutrition (approximate, per serving of 2 tikkis)
Protein: ~6g
Fibre: ~4g
Fat: ~8g (mostly the shallow-fry oil)
Carbohydrates: ~18g
This is the healthiest recipe I mentioned earlier. The salad and curry are quick sides, low-effort, and done in ten minutes flat — this one’s an actual snack, the kind you make for a lazy evening with chai or pack when you’re sick of sandwiches for the fifth day running. It reads like it needs skill on paper. It really doesn’t.

A note from my kitchen: my very first batch fell apart because I got impatient and flipped too soon – I lost about half of them right there in the pan. Give the first side its full 3-4 minutes, hands off, and you’ll know it’s ready when it lets go of the pan on its own instead of sticking stubbornly. Cooking for guests? Shape the tikkis ahead, refrigerate them for up to a day, and fry just before people show up — chilled dough actually holds its shape better, which I stumbled onto by accident, not by planning.

Want it lighter? Skip the shallow fry, use a non-stick tawa with just a teaspoon of brushed-on oil per side, or run them through an air fryer at 180°C for 12-15 minutes, flipping halfway. You lose a bit of crisp at the edge, but the fat drops noticeably, and honestly, most people at the table don’t clock the swap once they’re actually eating.

If more plant protein is the goal and you don’t want it turning into a whole production, moong sprouts are about as low-effort as it gets. Once the rhythm settles in, you’re looking at maybe two minutes of actual hands-on work a day — rinse, drain, wait, repeat. Try the salad or the curry above, and tell me in the comments how it went. I mean that I read every one.

Frequently Asked Questions

Yes — swap in an extra spoon or two of besan for binding, though the texture ends up a touch firmer. Boiled sweet potato works too, if you want a different flavour altogether.

Nearly always one of two things: the mixture’s too wet, or you flipped too soon. Check that it holds shape under a bit of pressure before you even shape it, and give each side its full time before touching it again.

Yes. Brush lightly with oil on both sides and bake at 200°C for about 20 minutes, flipping halfway. You lose some crispness compared to frying, but they hold together fine.

Yes, as long as they were rinsed well and kept reasonably clean while sprouting — the warm, moist conditions sprouts grow in are also ideal for bacteria like E. coli and Salmonella, which is why raw sprouts carry a higher food-safety risk than most raw vegetables. If your stomach’s sensitive or your immunity’s a little low right now, a quick steam first is the safer call — pregnant women and anyone immunocompromised are generally advised to skip raw sprouts altogether. They taste fine either way, so it’s not much of a sacrifice.

About 2-3 days, kept airtight. Past that, I’d toss them rather than risk it – not worth it over a small bowl of sprouts.

2 thoughts on “Moong Sprouts: Benefits, How to Sprout Them at Home, and Easy Recipes”

    1. Thank you so much! 😊 I’m glad you enjoyed the moong sprouts guide, especially the sprout salad and curry recipes. They’re simple, healthy, and easy ways to add more nutritious sprouts to your meals. I hope you try them and enjoy them as much as I do! ❤️

Leave a Reply

Your email address will not be published. Required fields are marked *

Recipe Rating